Installing Windows Vista/7 from a USB flash drive
This post is a nice how to about making a bootable USB flash drive to install Windows Vista or Windows 7 from. Unless you are using a super fast flash drive, it won’t be much faster than a DVD, but the plus of this method is being able to not use a DVD and to be able to swap out different WIM images for deployment. This guide details the steps using a Windows Vista machine, but should be the same for a Windows 7 machine.
- Insert the USB flash drive you want to use into a USB port on your computer. The standard Windows Vista/7 DVD is about 2.4 GB, so you will want to be sure your flash drive is at least that big. It may need to be bigger depending on if you are using a custom WIM.
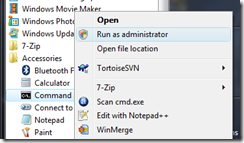
- Open Command Prompt as administrator
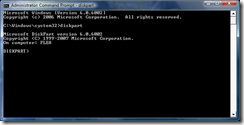
- At the command prompt, you will want to start the diskpart utility by typing diskpart and pressing Enter.
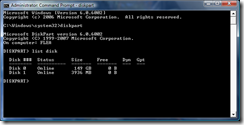
- Type list disk and press Enter and diskpart will list all the disks that are connected to your computer. You can identify which one is your target flash drive based on the size. For this I am using a 4 GB flash drive, so Disk 1 is my target disk.
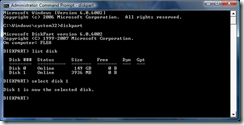
- Now type select disk # and press Enter, replacing # with the disk number you determined from the step above.
- Now it is time to wipe everything from the flash drive. Type the command clean and press Enter.
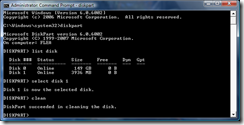
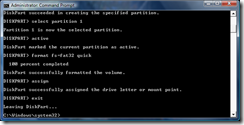
- Now type in the command create partition primary and press Enter. This will create a new primary partition on the drive occupying the entire disk. Once this is done, type select partition 1 to select the partition that was just created.
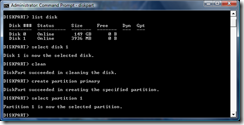
- To make this partition bootable, it needs to be marked as an active partition. To do this, type the command active and press Enter.
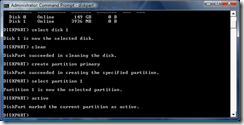
- Now it is time to format the partition. For this, the format will be FAT32. To conserve time, the quick formatting option is desired. Type the command format fs=fat32 quick and press Enter. Because of the quick option, the formatting should take less than 30 seconds.
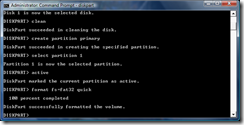
- After the formatting is complete, the drive should automatically become present in Computer. If not, you may type the command assign and press Enter which will make the drive available in Computer. You may now exit from diskpart using the exit command.
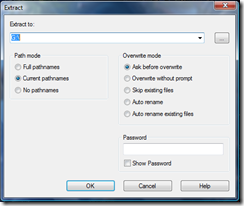
- Now the drive is ready for the installer files to be copied to it. You may copy-and-paste from a DVD in your DVD drive. The following demonstrates how to extract the files from an ISO file to the drive using the 7-Zip program. Just right-click on the ISO file and select 7-Zip and Extract files…

- In Extract to, choose the flash drive. In my case, the flash drive is assigned the letter G, so I am extracting into G:\. Click OK to begin the extraction. Depending on how fast your flash drive is, this may take some time.
- After the extraction, the flash drive is ready to be booted to and can install Windows onto the destination computer.